

The Definitive Final Walk-Through Checklist to Prep Clients

Providing your clients with a final walk-through checklist will help keep them focused during the homestretch of the buying process. The final walkthrough is your client’s last chance to review the home and property from front to back and ensure they are satisfied before closing on the deal. By arming them with a final walk-through checklist you can ensure that they won’t overlook crucial details and that there will be no surprises when they receive the keys to their new home.
Remind clients of the purpose of a final walk-through
Before you hand over a final walk-through checklist, touch base with your client to make sure they understand the differences between the final walk-through and the home inspection they previously completed.
As you are aware, a home inspection allows clients to alert the seller to repairs that are needed to the home, as opposed to a final walk-through which allows your clients to confirm that said repairs have been completed and that the property is in satisfactory condition. This includes double-checking any agreed upon repairs from the home inspection and making sure that the home’s condition hasn’t changed since the inspection.
Let your clients know that the final walk-through is one of the last tasks they need to complete before closing, typically less than a few days before, or on the day of closing. Be sure you emphasize the importance of the final walk-through checklist. Clients may be tempted to forgo the walk-through as they are eager to close. It’s important that clients not only attend the walk-through but are also active participants.
Without further ado, here’s how to help your clients ace their final walkthrough.

Here’s what’s clients should bring on the final walk-through
To be fully prepared for their final walk-through, clients should pack a bag with a few essential items that may come in handy. Clients should take notes (either for the seller or their own personal records), take photos of any damage, and reference the terms they agreed to in their contract. Here is a list of items your client should have handy during their final walk-through.
- The contract – Make sure clients have a copy of their contract with them during the walk-through for reference.
- A notebook – Bringing a notebook or using a phone’s notepad to record the date and time and detailed notes of the walk-through will help keep clients organized.
- A phone or camera – While most clients are rarely caught without their phones, make sure they have a good camera to document the condition of the home.
- The inspection summary – Having the inspection summary present will remind clients of what the seller agreed to repair so they can check its status.
- Their agent – That’s you! Accompany your client to their final walk-through, especially if they are a first-time homebuyer, and keep them on track and focused.
- Blue painter’s tape or sticky notes – If the home is new, clients can use blue painter’s tape to mark any unfinished areas for the builder. Otherwise, sticky notes are a good way to mark problem areas for the seller’s reference.
What to check during the final walk-through
Now that you’re in the home, your client’s bags are packed, and the final walk-through is underway, where should they start? Before you enter the home, make a game plan with your client so they are sure to cover every area of the home. Work from top to bottom going room by room until every room in the house has been inspected. A typical walk-through should take around 30 minutes to complete.
Here are some tasks your client should mark off during their final walk-through:
Look in every direction: walls, floors, and ceilings
Damage can often occur during the moving process or be revealed after the seller moves out. Once the artwork, televisions, and decorations come off the wall, nail holes, brackets marks, peeling paint, and other damage may be revealed. Scratches on the floor or stains hiding beneath carpets can emerge when the furniture is gone. And water damage from moving appliances can appear.
Advise clients to inspect all of these problem areas and see if there is any large-scale damage that needs to be addressed with the seller.
Open all windows and doors
Upon entering each room, make sure all of the windows, doors, locks, and latches are functional. Windows and doors should open smoothly and should not be painted shut, it’s a fire hazard. Also, check if the screens, blinds, and any window coverings work as intended. This sounds like a big task, but breaking it up by room and working as a team will make it go quickly. Also, don’t forget the garage door.

Check all of the water fixtures
Test all of the water fixtures in the home and on the property. This includes kitchen sinks, bathrooms, the basement, toilets, showers, irrigation systems, and pools. Make sure faucets turn on smoothly, and have hot and cold water. Check if toilets flush properly, and be sure nothing leaks. These areas are also good places to check for water damage.
Inspect the kitchen and laundry room
These two rooms are home to some of your clients most-used appliances. Test the appliances to ensure they’re still in working order. Also, make sure to check behind (and under) the refrigerator, dishwasher, and washing machine to ensure there are no signs of mold or water damage.
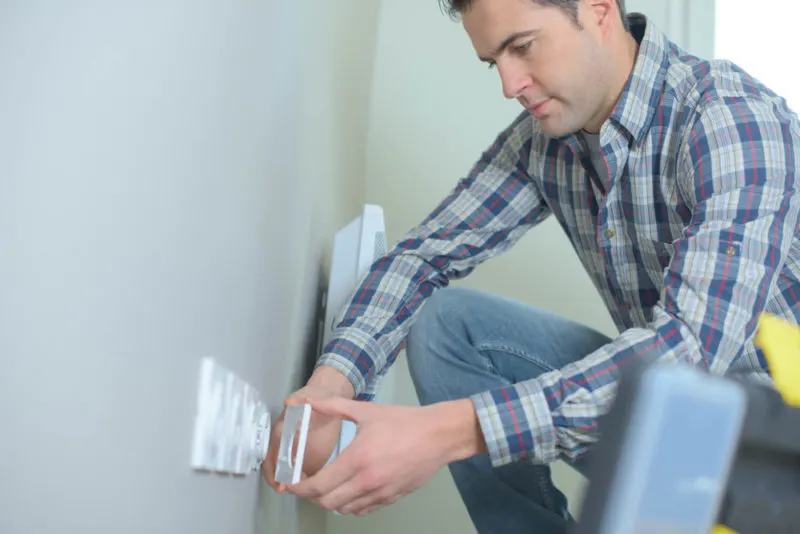
Test the AC, heat, and electrical systems
Remind clients that whether it’s the dead of winter or the middle of summer, both the AC and heating system should be tested for functionality. They should also check light switches, ceiling fans, outside lights, doorbells, security systems, any outlets connected to light switches, and any other electrical elements in the home.
While in the basement, check the circuit breaker to ensure it’s functional and accessible.
Watch out for pests
While your client is going through each room of the home, have them keep an eye out for any signs of pests. Rotting or cracked wooden beams can be home to termites or other pests, while droppings in the basement can be a sign of infestation. These concerns should be cleared up with the seller before closing.
Check in on fixtures or included property
Make sure your clients account for all fixtures and personal property included in the home purchase and that they understand the difference between the two. A fixture is a permanent part of a home or attached to the home itself. This includes things like light fixtures, ceiling fans, mailboxes, landscaping, or door knobs. Personal property is anything that the seller could take with them like lawn furniture or appliances.
Make a list of any personal property that was negotiated to be purchased along with the home. Make sure these items or appliances are undamaged. The same goes for any fixtures in the home. Afterward, check for any unwanted items that are not included in the purchase and should be removed by the seller. This could include personal items, unwanted furniture, or construction materials.
Don’t forget the exterior of the home
After the inside of the home is inspected, move on to the outdoor portion of the final walk-through checklist. Walk around the perimeter and the outside of the home to ensure everything is in shipshape. This includes any precarious-looking trees near the home, the siding, roof, and gutters, the shrubs and other landscaping, and any fences.
Verify the inspection repairs
While the final walk-through is not your client’s opportunity to add to their inspection repairs, it is the time to confirm the home’s repairs are finalized and no new damage has been sustained. It’s especially important to conduct a thorough walk-through if there has been a major storm, rain, or strong winds since the inspection. Here are some areas your clients should double-check or examine on the final walk-through.
- Roofing, siding, gutters, and the chimney
- Landscaping and shrubbery
- Water damage around the home and in the basement
- Floor damage from the move or when carpets are removed
- Appliance functionality
- Exposed asbestos
- Septic or sewer drainage
On the eve of your client’s celebration of closing, make sure they’re prepared for their final walk-through. With this final walk-through checklist in hand, your clients will have the tools they need to thoroughly inspect and record the status of their new home. With your help, they can feel confident that the home they fell in love with is the home they will walk into on moving day.