Moving soon?
Use our checklist.
Whether you need to secure internet or find a moving company, our checklist will get you organized and ready to move.


House Painting: Everything You Need to Know
Moving soon? Get organized with our free moving checklist.
House painting is often an important step of the moving process. If your home or rental property is in need of a fresh coat (or two) of paint, you’ll have to decide how you want to proceed. Do you hire a professional painter or break out the ladder and purchase the exterior house paint yourself? Depending on the scale of the project, your time frame, and whether it’s an exterior or interior house painting job, the answer might be different. Read up on our house painting tips and tricks to see what choice is the best for you.
House Painting Options: Hiring Help vs. DIY
When deciding whether to hire help or take on a house painting job yourself, there are a few factors to consider. Depending on your level of ambition, certain circumstances may prompt you to leave house painting up to the professionals. Think about your painting needs and see how the following situations apply to you.
- Scale
Scale has one of the biggest impacts on deciding whether to hire painting help or take matters into your own hands. If you want to paint your home, consider whether or not this is a realistic task to take on yourself. For instance, is your house multiple stories or a townhouse? Do you just want to paint the kitchen or the entire exterior? Once you factor in the time it takes to do the prep work and lay down multiple coats of paint, a DIY paint job can get complicated. If the house painting job is extensive, you may want to leave it to professionals.
- Current state of paint
Painting a brand new house with smooth surfaces dramatically reduces prep work. On the other hand, if you’re painting an old home with peeling walls or siding, it’s going to take a lot longer. When deciding whether to hire house painting professionals or do it yourself, take the current state of the paint into consideration. If you’re not up for the challenge of scraping and sanding for hours, you should hire help to get the best results.
- Interior vs. exterior
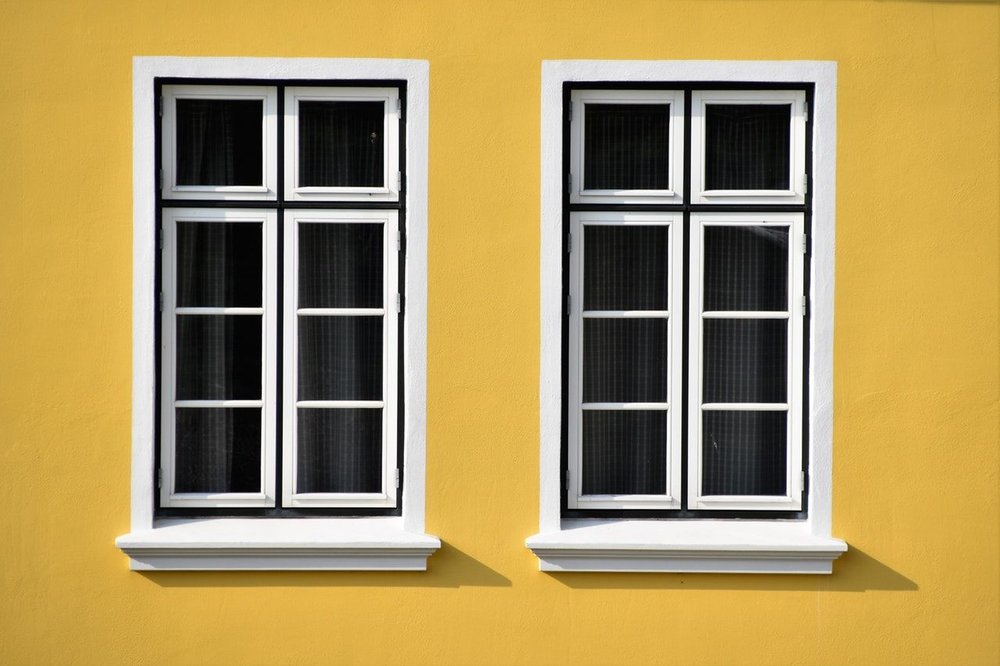
Needless to say, an exterior paint job tends to be more complicated. Indoors, you don’t have to deal with the elements. When painting the exterior of a home, however, you have to think about tough-to-reach places and the unpredictability of the weather. If you just want to repaint your front door, we trust that you’ll be able to do it yourself. Contrarily, a full exterior makeover requires professional help.
While we don’t want to doubt your painting abilities, a complicated paint job will be far more successful if completed by professional painters. Still, there are many painting endeavors that you can do yourself with the proper background knowledge.
Option 1: Hiring Professional Painters
House Painting: Hiring Help
If you’ve determined you don’t have the time or expertise to paint your house yourself, it’s time to hire help. Here’s how to proceed when hiring professional painters:
- Get a painting estimate/request references
Before hiring a painter, you should get a detailed estimate from them. This should include costs for labor, materials, paint, and the timeframe of the project. Covering details upfront will prevent issues from emerging later on. Ask the painter if they charge for travel time, whether their estimate includes pressure washing and caulking, and any other questions you might have.
- Confirm your painter’s credentials
When looking for someone to do your house painting for you, you’ll want to make sure they have all of the permits and licenses that your state requires. You should also ask about a painter’s insurance. If any workers get injured or your personal property gets damaged, you’ll want to make sure your painter’s insurance covers these incidents.
- Understand what’s required of you
Even if you hire a professional, you may need to play a small role in your house painting process. This could be anything from moving your furniture to the center of the room to removing switch plates and outlet covers. Ask your painter how much prep work is expected of you before hiring. The amount of work you’re willing to do could help you narrow down the right painter for the job.
- Make a payment plan
In general, you want to avoid any painter who makes you pay in full upfront. While painters may request a down payment of 20% to 30% of a job’s total cost, you typically shouldn’t pay again until the job is done. All terms of the payment should be written out in a contract, detailing the exact cost based on materials and labor.
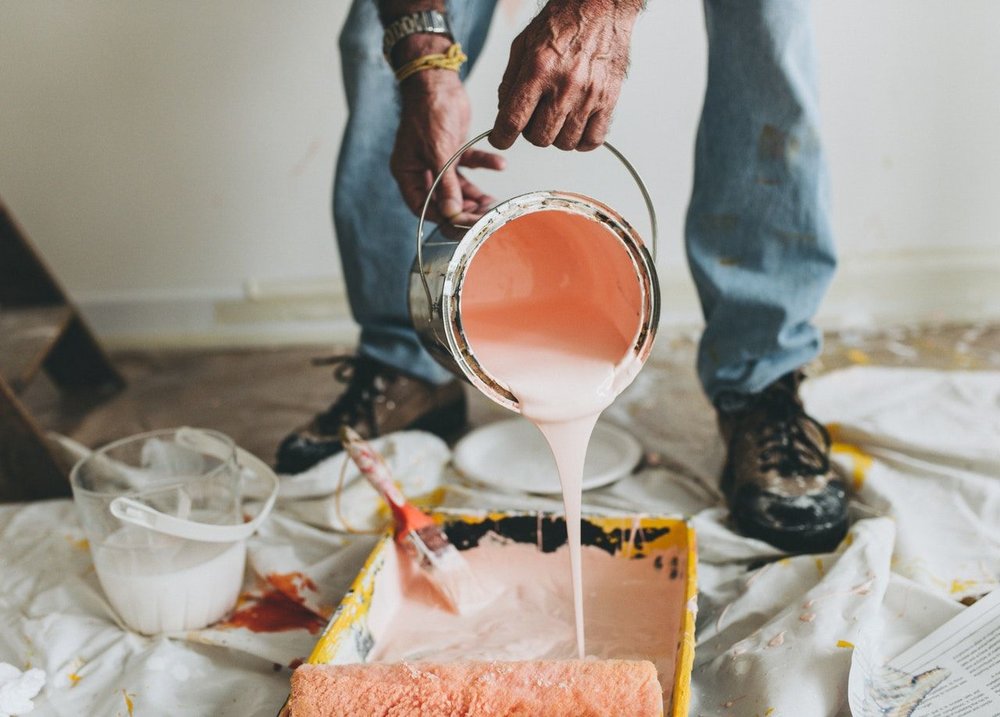
Option 2: DIY Painting
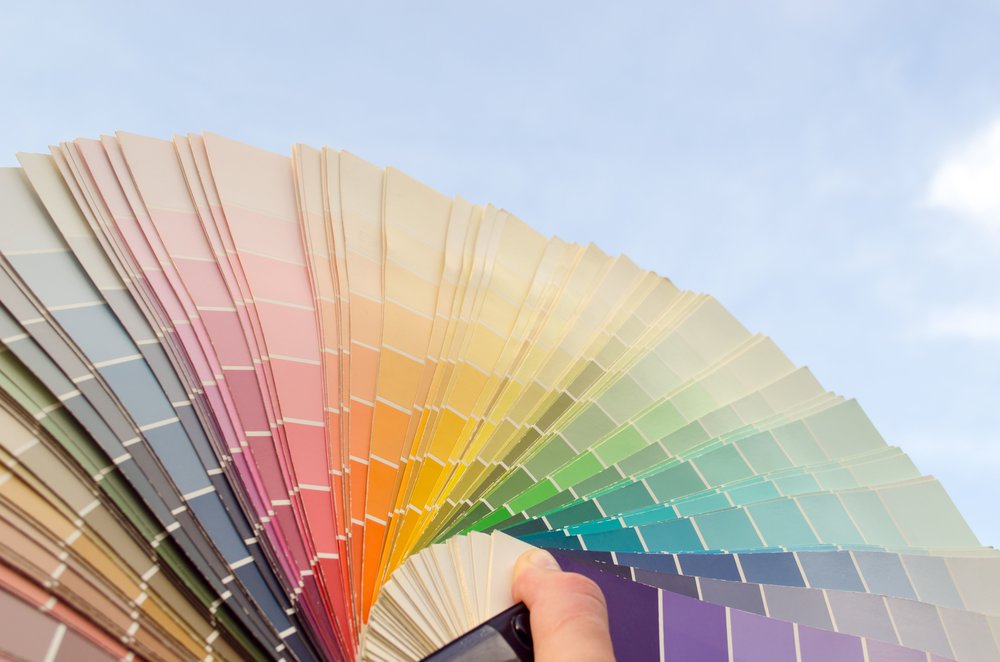
DIY Paint Buying Guide
House painting is no easy feat. While you may be tempted to purchase the cheapest kind of paint you can find, remember that you want the paint to look good and last a long time. If you haven’t chosen a color palette, there are a number of apartment design apps out there to spark inspiration. Once you’ve decided upon your color scheme, you’ll have to choose what kind of paint you want.
- Latex paint
Latex paint refers to water-based paint, the most popular and environmentally friendly paint. Since latex paints provide great color retention, they’re ideal for exterior walls that face a lot of weathering. Latex paints are also a good option for interior walls that are subjected to a lot of moisture, such as bathrooms and laundry rooms. Additionally, latex paints dry faster than oil-based alternatives and produce fewer odors.
- Oil-based paint
Containing either natural oils or a synthetic alkylate, oil-based paints are more durable than latex paints. Oil-based paints should be used on surfaces where you want the finish to last for a long time. While this kind of paint has a stronger odor and takes longer to dry, its durability is unmatchable. The strength of oil-based paints makes them a great choice for moldings and trims.
- Estimating paint needs
Paint can be expensive. Buying too much paint is particularly frustrating since paint stores won’t refund an already tinted gallon of paint. That’s why it’s recommended to first buy around 80% of the estimated paint you need and then purchase the remainder when you’re almost finished. Factors such as square footage, surface type, and quality of paint all play into how much paint you’ll need. Paint stores should be able to help you determine how much paint you need for a specific job. If you aren’t sure how much paint to buy, ask a salesperson for advice.
- Paint luster
From dull to shiny finishes, paint comes in several different lusters. A paint’s luster depends on its mixture of pigment, resin, and additional ingredients. If you’re struggling to decide what finish you want, note that glossier finishes tend to be more durable and washable. Flat paint, on the other hand, is better at hiding surface imperfections. Pearl and eggshell lusters fall somewhere in the middle, as they are more washable than flat paint and partially hide irregularities.
DIY Exterior House Painting
A new coat of paint will immediately transform the exterior of your home. For best results, take the following tips into consideration, keeping in mind that a large-scale, multi-story paint job should be left to the professionals. Should you decide to do a DIY paint job, here’s how to get started.
- Plan your paint job
As you can imagine, there are good and bad times of year to paint the exterior of a home. Any expert will agree that inclement or extreme weather is not ideal for house painting. This includes wind, rain, and severe heat, just to name a few conditions. The best time of year to paint your home is when temperatures are between 40° and 90° F — if you’re using oil-based paint. If your exterior house paint is latex, temperatures should be between 50°and 85° F. For the best drying results, relative humidity should be between 40% and 70%.
- Remove loose/peeling paint
Before taking a paint scraper to the side of your house, give the outside of your home a quick, but not too forceful, power wash. This will remove any loose dirt or peeling paint. Once the exterior is cleaned off, use a paint scraper, putty knife, or wire brush to remove any additional loose or peeling paint.
- Remove or replace any rotten wood
Painting over rotten wood is a recipe for disaster, bound to either prolong or worsen the rotting. Instead, you should immediately replace or repair any rotten boards that you encounter. This will help ensure that your paint job lasts as long as possible.
- Sand
Using a sander for paint removal is an efficient way to speed up the paint removal process. Determine the right type of sander for the job and make sure you’re exercising proper safety measures.
- Tape and cover doors, windows, and hardware
Nothing’s worse than getting paint where you didn’t want it to go. Prevent house painting mishaps by taping off doors, windows, and any hardware with painter’s tape. For extra precaution, cover hardware such as lighting fixtures with plastic bags. If it’s not too much trouble, you can also remove hardware for the time being.
- Prime
If the exterior of your home is unpainted or has been scraped and sanded, you will want to lay down a coat of primer. Make sure that the primer you’re using is right for the surface you’re painting. While most surfaces can be treated with acrylic primer, some surfaces, like cedar and redwood, require oil-based primers. The oil stops the wood tannins from bleeding through the topcoat.
- Caulk
Use paintable exterior caulk to fill any gaps or cracks in your home’s trim. Caulk will prevent air and moisture from getting into the walls of your home. If there is existing caulk on your trim that’s old and cracked, you’ll want to scrape it off before adding more.
- Choose equipment
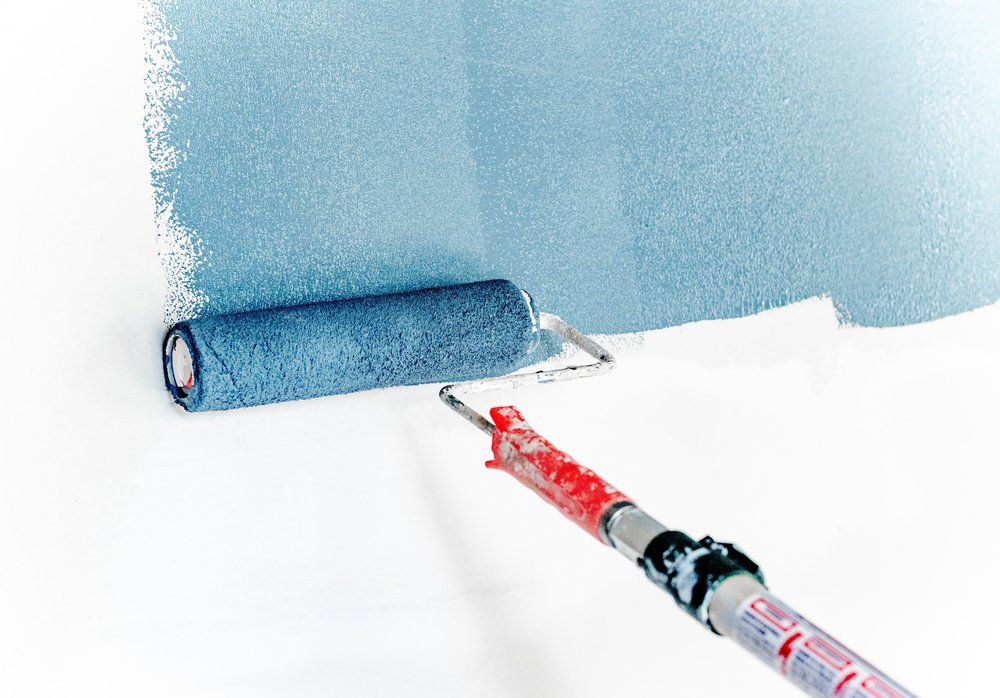
While many professionals use paint sprayers, they can leave drips and uneven coatings in the hands of an inexperienced user. If you’re set on DIY house painting but don’t have much practice, you may want to stick to rollers and brushes. Brushes are great for edges and smaller areas, while rollers can be used to paint large and long surfaces like siding and trim.
- Practice ladder safety
Practicing ladder safety is key. When using an extension ladder, always test that its resting at the right angle by putting your toes against the feet of the ladder and extend your arms outwards. At the proper angle, you should be able to rest your hands on the rung in front of you comfortably. When on a ladder, you should always keep your hands free and maintain a steady center of gravity.
- Get started
The following guidelines will set you up for success. First, start at the top and work down. Second, paint out of the sun’s glare, since the sun will cause the paint to dry too quickly and flake or blister. To avoid marks, try to brush from one wet surface onto another. If you do have to paint onto a dry surface, overlap the wet paint onto the dry surface by several inches.
- Paint the trim
Like the rest of your home’s exterior, you should start from the top down when painting exterior trim. If your window sills look particularly weather-beaten, you might want to give them a second or third coat of paint. When painting doors, paint the panels first, then the rails and stiles, and finally the edges. For more details, read up on trim painting guidelines.
- Apply a second coat
Most house painting professionals will agree that two coats of paint are needed on a home. Using one coat of paint may look sufficient, but will not hold up over time. Two coats of paint, on the other hand, provide protection, washability, and help retain the true color of the paint. If you are still toying with the idea of hiring a professional painter, ask if two coats of paint are included in the pricing estimate.
- Clean
Cleaning up is an essential part of the house painting process. Be sure to seal any leftover paint in cans and clean paintbrushes and rollers with warm soapy water. Remove any used painter’s tape as soon as possible, as leaving it on for too long will make it harder to get off.
DIY Interior House Painting
Interior house painting is often easier than exterior house painting since you don’t have to deal with outside elements. Still, there are a number of steps to take to properly paint your walls.
- Prep your walls
Begin prepping your walls by removing any outlet covers or lighting fixtures (if possible). Next, inspect your walls for any defects. If you encounter cracks, dents, or holes in your walls, simply fill them in with caulk or spackling compound. There are also a number of DIY tips to fill nail holes. Once your repairs dry, smooth them down with sandpaper and wipe the walls down with a damp sponge.
- Tape and spread drop cloths
To prevent a mess when painting, tape your windows, doorframes, and moldings with painter’s tape. If you aren’t planning on painting your ceiling, go ahead and tape its perimeter as well. To successfully apply painter’s tape, make sure it’s flat and even so the paint does not bleed through.
As for your floor, use drop cloths to protect it from paint drips and splatters. This is particularly important if you’re renting your home. You can also cover your furniture with drop cloths — or simply move it out of the room while painting. When moving your furniture around, take the appropriate measures to avoid furniture damage. - Prime and sand
Cut in your room with primer before priming the entirety of your walls. Cutting in is simply the process of outlining your room with 2 to 3 inches of paint around the edges and frames of your room. This technique will eliminate drips and splatter, creating a professional look.
For this process, a handheld brush is the best choice. Paint the primer in 3×3 foot sections, painting from top to bottom. Here, you can use a roller and paint in V or W-shaped strokes. When the primer has dried, lightly sand down bumps and wipe the walls down with a damp sponge. - Cut in and paint walls
Following the same process as the primer, cut in the walls with your chosen paint. For best results, paint one wall at a time. This makes it easier to spread the paint while it’s still wet. Work from top to bottom, rolling the paint in V or W-shaped strokes. Before applying a second coat, wait two to four hours. Then proceed with the same process used for the first coat.
- Clean
After painting, you’ll want to tightly seal any extra paint in cans. Be sure to wash your paint brushes and rollers with warm soapy water and remove any used painter’s tape. If it’s left on too long, small bits of the tape may tear and get left behind.
Maintaining Exterior House Paint
Whether you rent or own your home, properties require upkeep. Since your exterior house paint is subjected to the elements, maintenance is key. With theses measures, you can extend the life of your exterior paint job.
- Pressure washing
Dirt and grime are bound to develop on exterior house paint after some time. Luckily, you can easily clean your home with a pressure washer. It’s recommended that you pressure wash your home about five or six years after the initial paint job. For areas like porches and overhangs, you should clean them more often. Taking a garden hose to these areas once a year should do the trick.
- Preventing rot
Paint acts as a protectant on wooden siding, slowing down the rotting process. This makes it incredibly important to fully coat the undersides of corner boards on the exterior of your home. Whether you’re undertaking a DIY house painting endeavor or have hired professionals, you should check corner boards and shutters to make sure they’re fully painted.
- Combating mold
There are a number of measures you can take to prevent mold on the exterior of your home. Anti-mold paint works to stop mold from spreading. Still, anti-mold paint does deteriorate when exposed to prolonged sunlight and moisture. To prevent mold damage from spreading, it’s best to act fast. In order to ensure that all the mold is eradicated, we recommend calling a professional mold removal company.
- Repainting
Repainting is key to maintaining exterior house paint. The material that your home is made of affects how often you should repaint. For instance, wood-paneled homes need to be repainted twice as often as those made of stucco. Environmental factors also play a role in how often you should repaint, since harsh climates can be hard on a home. As a general rule of thumb, homeowners should repaint their home every six to ten years.
Maintaining Interior House Paint
Similar to exterior house paint, it’s important that your interiors remain in good shape as well. The following tips will help keep your interior house paint looking fresh.
- Dealing with fading paint
There are a few ways to prevent your interior house paint from fading — or stop it from getting worse. One simple fix is to install shades or curtains to block incoming sunlight. If you don’t want to shut out the light, you can also tint your windows with a UV protectant. However, fading shouldn’t be much of an issue if you use high-quality interior house paint.
- Keeping it clean
The moment you notice spots and stains on your interior house paint, you should deal with them immediately. This can be as simple as washing the wall with a damp sponge and water. If this doesn’t do the job, add a bit of dish soap to a damp sponge and wipe the area down.
- Combating mold
Similar to exterior mold, mold is more likely to emerge in warm and humid areas. That being said, rooms like bathrooms and basements are more prone to mold. To preemptively prevent mold, use paints that are mold resistant. Should you find mold on a wall in your home, you can clean it with a simple solution of one part bleach to four parts water. If the area is large, you may want to leave the cleaning to a professional.
Whether you ultimately choose to hire a painter or take on a DIY project, house painting can be a long process. We hope that these tips will make your house painting project faster and more efficient. Happy painting!
Moving soon? Get organized with our free moving checklist.
Internet and TV tips
Switching providers and don’t know where to start? We can help.