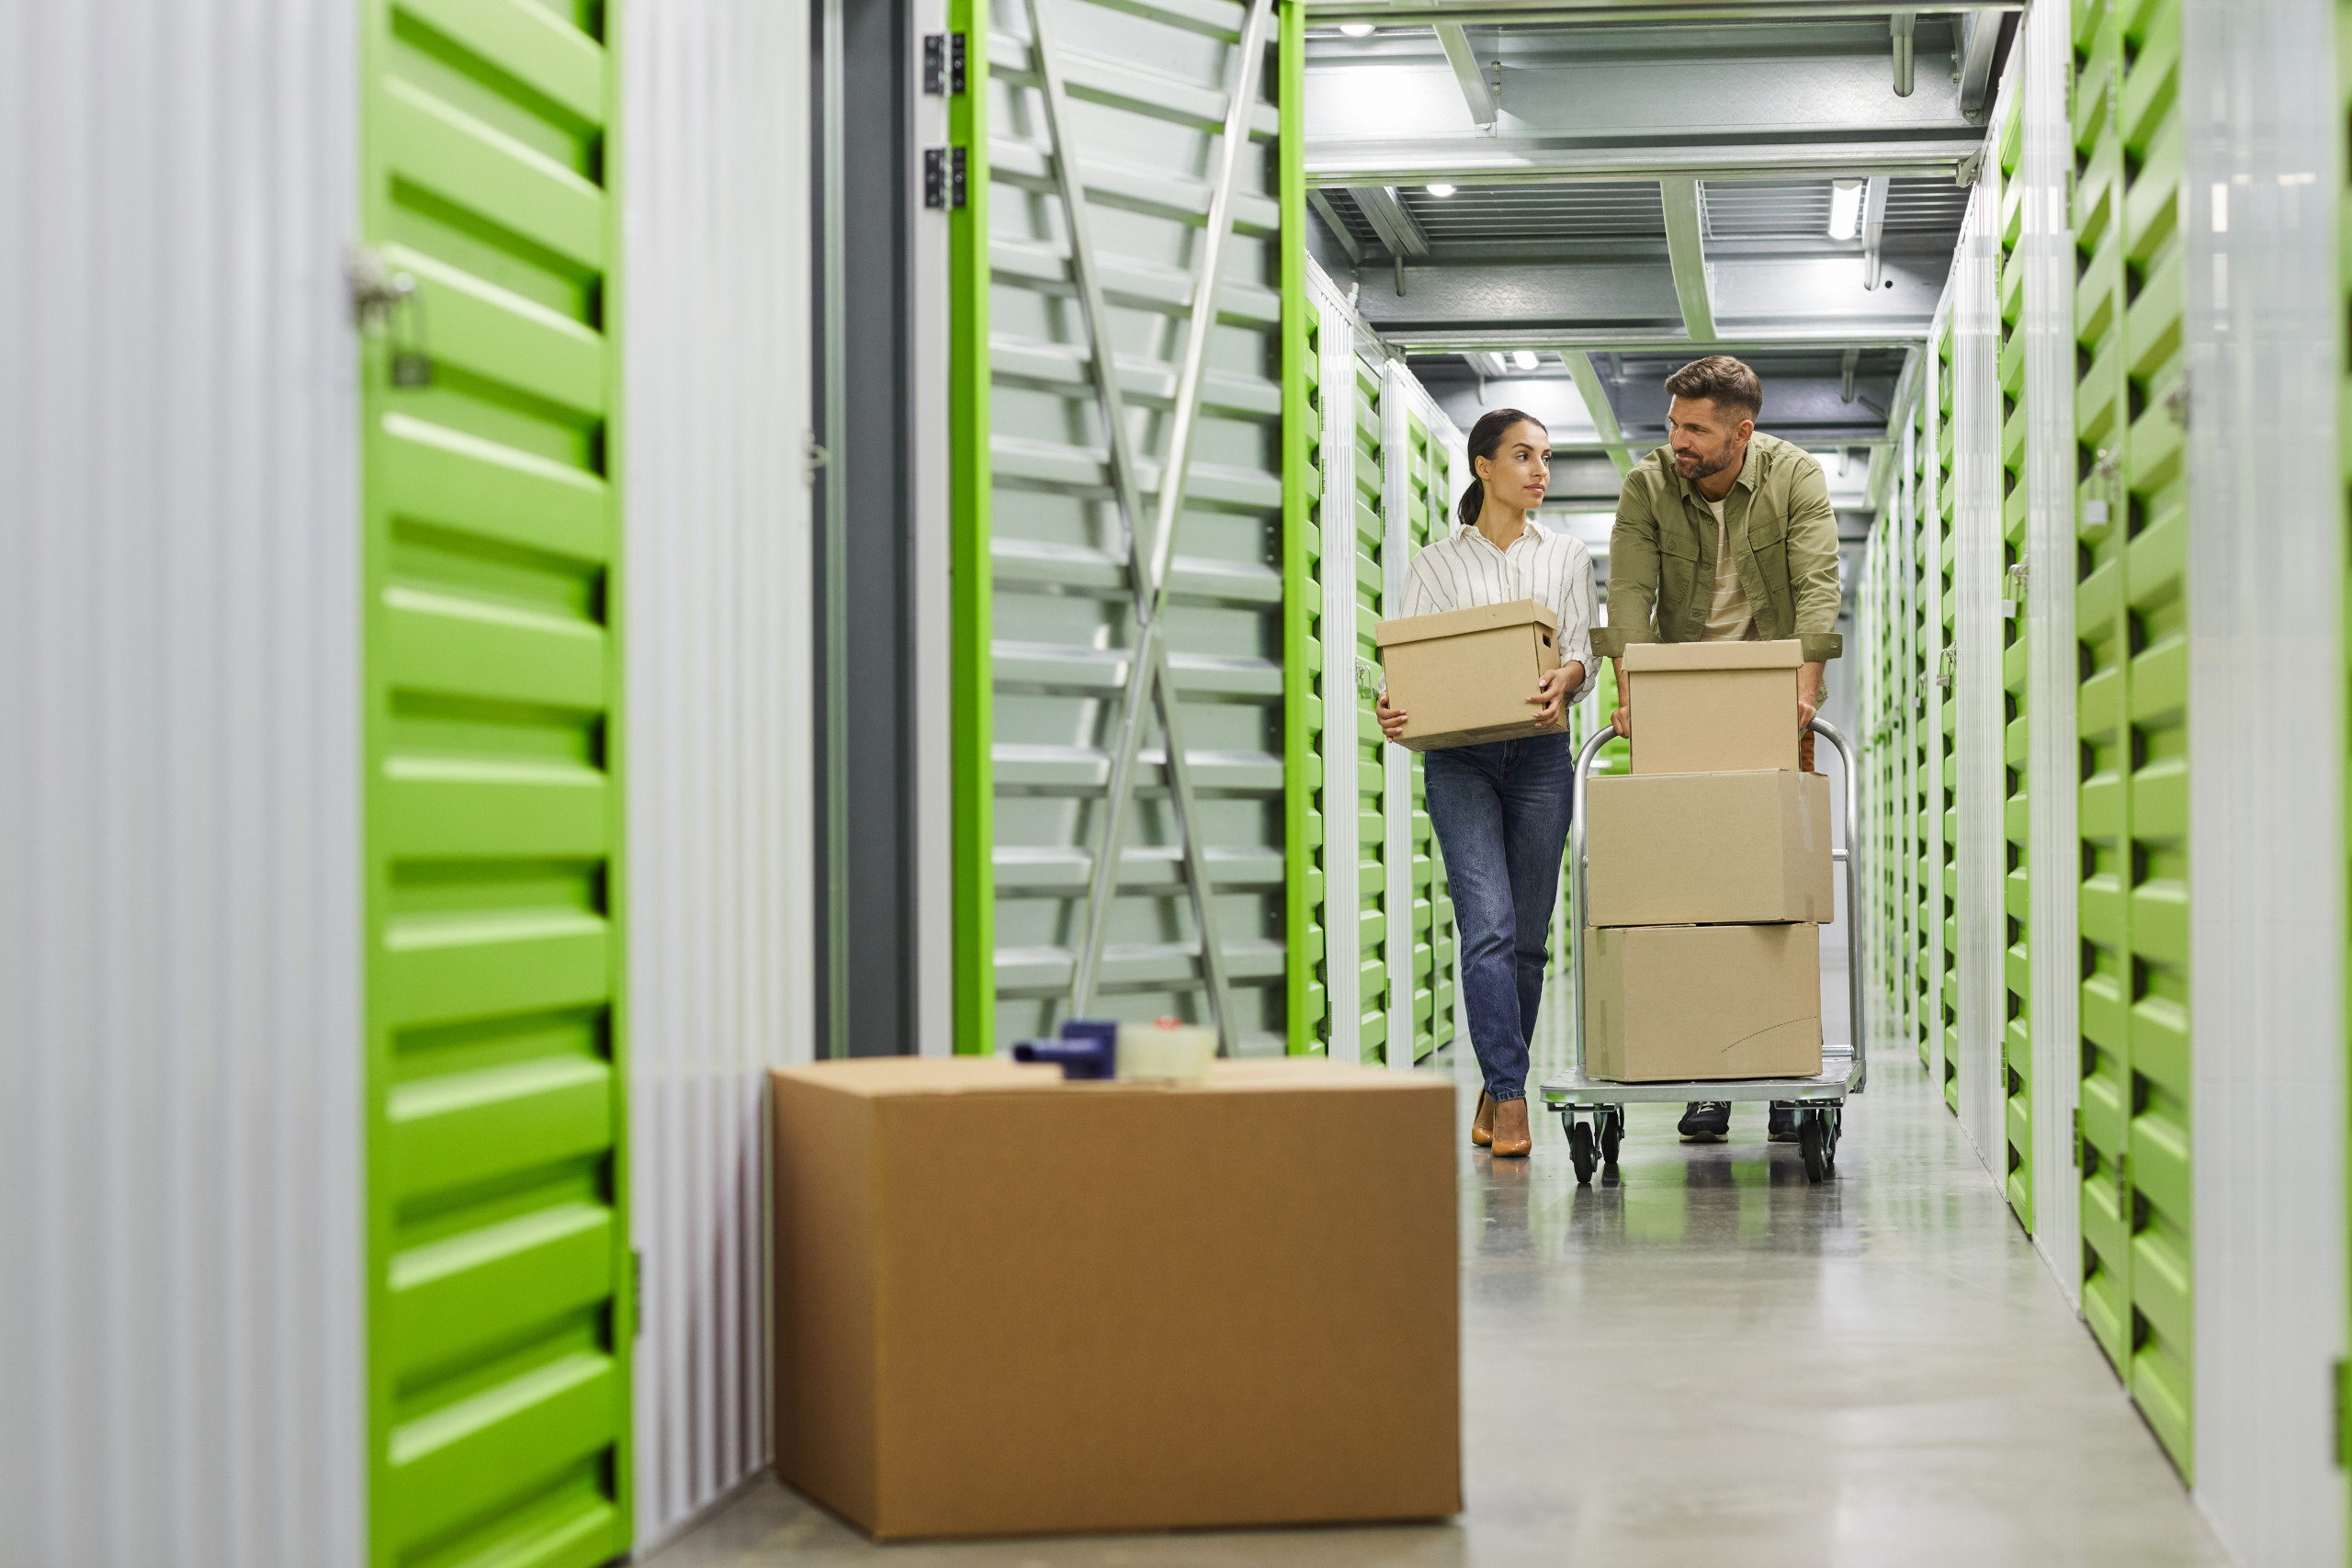
Moving soon?
Use our checklist.
Whether you need to secure internet or find a moving company, our checklist will get you organized and ready to move.


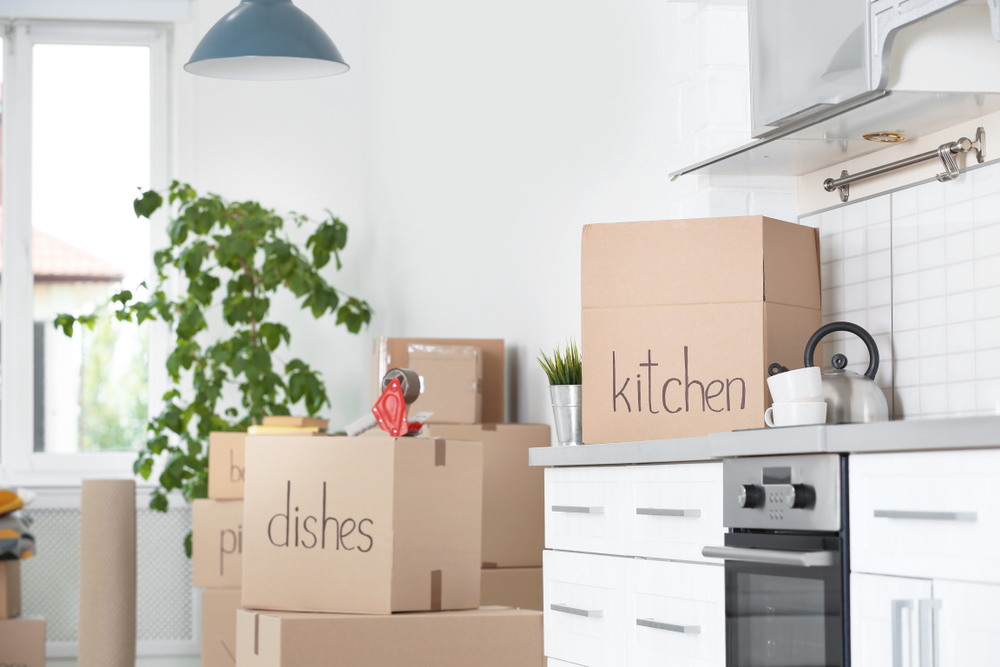
How to Pack Kitchen Items: Dishes, Food, Appliances, and More

Moving soon? Get organized with our free moving checklist.
As you go room by room packing up your house before a move, chances are packing up your kitchen will be one of the last spaces you tackle — after all, you’re probably going to need food and dishes up until the day you move.
To quickly and easily pack up your kitchen in those last few days, it’s important to have supplies ready to go and create a plan for how to pack kitchen items like dishes, small appliances, food, and more.
- Gathering supplies to pack up your kitchen
- How to pack dishes
- How to pack pots and pans
- How to pack knives
- How to pack small appliances
- How to pack food
Gathering supplies to pack up your kitchen
You might already have most of the packing supplies needed for boxing up kitchen items, but it’s still helpful to have a few room-specific supplies on hand.
When it’s time to pack up your kitchen, make sure you have easy access to:
- Packing paper
- Packing tape
- Twist ties
- Ice packs
- Dish boxes
- Small- and medium-sized boxes
- Cooler(s) or insulated thermal bags
- Labels and markers
As you assemble your boxes to start packing the heavier items in your kitchen items (think plates, canned foods), be sure to secure the bottom of the box with extra tape — use at least one strip of tape along the box seam, and two strips of tape perpendicular to it.
Pro-tip: When labeling your boxes, start with your room destination, in this case: “kitchen.” In addition, label with a secondary designation for the contents of the box such as: dishes, pots and pans, knives, appliances, pantry items, etc. to make for easier unpacking.
Pro-tip: Click here for help to determine how many boxes you need to pack up your kitchen.
How to pack dishes
Dishes are one of the more precarious items to move, as they’re fragile and often heavy. However, packing dishes safely just takes a little extra care and attention. Dish boxes are key here, as they typically include slots that separate the items. These boxes are also made from thicker material that absorbs shock if they’re jostled.
When packing dishes, create a cushioning layer of at least six inches of crumpled packing paper on the bottom of the box, then wrap each individual item in packing paper. Place the heaviest items at the bottom. When the box is full, use extra balls of paper or soft fabrics to fill in any gaps. Organize the items so that no box is heavier than 45 pounds and, as a final touch, label these boxes with room destination, secondary label designation (e.g., “dishes”), and mark as “fragile.”

How to pack pots and pans
Pots and pans aren’t hard to pack, but they do require plenty of padding to prevent scratches and dings. Wrap pots, pans, and lids in kitchen towels or bubble wrap, and try to nest them inside each other — if there’s still extra space inside a box, fill the gaps with pantry items to make the most of each box. Keeping matching pots and lids together isn’t an absolute must, but it does make unpacking easier. Label these boxes with room destination, secondary label designation (e.g., “pots and pans”).
Packing hacks tip: Use rubber bands to keep pots and lids together.
How to pack knives
Wrapping kitchen knives both prevents injuries and protects the blades from damage. If you have a knife block, you can simply tape your knives into it and wrap the whole thing in packing paper. To wrap knives individually, use several layers of packing paper to create a “roll” of knives. Starting at one end of the paper, wrap the first knife completely, then place down another knife and roll again. Repeat this process until all your knives are collected in a bundle, wrap it all in a towel and tape for safety.
Pack these rolls in small, clearly labeled boxes, and fill in any gaps with paper balls or kitchen towels to prevent knives from banging around. Label these boxes with room destination, secondary label designation (e.g., “knives”).
Packing hack tip: Use plastic wrap to simply wrap your silverware utensils organizer instead of letting your forks and knives run loose in a box!
How to pack small appliances
If you have the original packaging for small kitchen appliances such as toasters, blenders, and air fryers, you can put them back into their boxes for easy transport. Otherwise, try to pack store appliances in boxes close to their actual size.
Before packing, wipe down and dry appliances. Remove any loose parts, such as a microwave turntable or food processor attachments, and wrap them individually in packing paper. These pieces may fit inside the appliance — just be sure to stuff any gaps with paper to prevent pieces from shifting. With a twist tie, secure the appliance’s power cord, then wrap the item in packing paper. Use more paper or towels to pad the box and place your appliance and any accessories snugly inside. Label these boxes with room destination, secondary label designation (e.g., “appliance”).

How to pack food
Here are 11 essential kitchen packing tips to help finish clearing out food and deciding what you should throw out, how to move the items you’re keeping, and what should be passed on for donation.
- Target the near-expired foods. There is no better opportunity than a move to go through your pantry and throw away anything nearing its expiration date. Don’t waste valuable space on those refried beans that’ll only expire shortly after you move. Go ahead and slide them over into the “toss” or “donate” pile depending on their expiration date.
- Start cooking. In the weeks ahead of your move, try to use up as many ingredients as possible to minimize the amount of food you have to transport. Especially if you have a freezer full of meats, start eating your frozen food stuff early, and don’t replenish your frozen stock.
- Share the leftovers. Regardless of whether you’re not planning on moving an entire pantry’s worth of items or only have a few things to give away, you have a few outlets to make sure your expired food doesn’t make it to the garbage.
- Donate it to Move for Hunger, a nonprofit that partners with moving companies to divert non-perishable and non-expired items to the food bank.
- Ask your neighbor! Who knows, they may have a hankering for your leftover refried beans. Hey, it’s the neighborly thing to do.
- Use reasonably sized boxes. As you begin to pack up all of the items that you’re planning to keep, think in terms of weight. Use small, or medium-sized, well-taped boxes.
- Pack like a grocer. Once you’ve decided what you’ll bring to your new home, pack all of your heavier items, like canned goods, on the bottom of your moving boxes. Layer your lighter (and thus more fragile) items on the top, like your boxes of Oreos and crackers.
- Secure your spillable pantry items. If you are packing up boxed or bagged items (things like flour and sugar), you’ll need to place them in more secure packaging before you pack them up in the cardboard box. Stop by the local hardware or container store to purchase a few heavy-duty, sealable containers that won’t lead to some serious spillage. Otherwise, plan on placing items with tear-able packaging into a resealable plastic bags.
- Toss the glass bottles. Even if they’re well packed, bottles of olive oil, spaghetti sauce, and bottled drinks are much more liable to spill or burst open in transit. Save yourself a messy spaghetti sauce clean up and try to use or donate your breakable items ahead of time.
- Break out the cooler. A spacious cooler or set of insulated grocery bags comes in handy when transporting perishable items. Place liquids inside tightly sealed jars or resealable plastic bags to contain leaks and use several ice packs to ensure food stays cold during transport.
- Pack your own alcohol collection. The bad news here is that many movers will not move your alcohol collection, meaning that you’ll be responsible for safely packing and shipping your own bottles. Especially if you have an expensive collection of liquors, you’ll be responsible for securely packing and moving everything. Ask the local liquor store whether they have extra wine boxes on hand — these segmented containers are perfect for moving your collection, and usually come equipped with handles. Be sure to stock up on bubble wrap, newspaper, and packing peanuts to help insulate the bottles for your move.
- Check all the nooks and crannies. Make sure to do a walkthrough of all the areas of your house where you store food. Did you check the freezer in the basement? What about the hall closet where you occasionally store the kid’s school snacks that don’t fit in the pantry?
- Unplug the fridge. This one is a no-brainer, but you’d be surprised! If you’re bringing your fridge with you, make sure to unplug it at least 24 hours in advance of your move so the freezer has time to defrost. Packing hack tip: Wrap your refrigerator and freezer in plastic wrap to keep the doors from opening during transit.
Whipping up a plan for how to pack kitchen items before your move is an important milestone. Packing can be a long process, but boxing up your kitchen means you’re in the home stretch — and you’re that much closer to heading off on your new adventure.
Moving soon? Get organized with our free moving checklist.
Internet and TV tips
Switching providers and don’t know where to start? We can help.