
Self-Installation Guide for Cox Internet


Cox Media currently serves more than 6.5 million homes and businesses across 18 states, including Arizona, Arkansas, California, Connecticut, Florida, and Georgia. When you sign up for internet service from Cox, you have two options; leave the installation to the pros or take matters into your own hands with self-installation.
If you have already signed up for Cox internet and you’ve decided to go the self-installation route, also called Easy Connect, this guide will help. We’ll walk through the Cox self-install process, as well as some troubleshooting tips you may need so your new service will be up and running in no time.
- How to self-install Cox internet service
- Activating a Cox internet account
- Configuring a Cox modem
- Troubleshooting
- Should you self-install of leave it to the pros?
- Choosing the right Cox modem
How to self-install Cox internet service
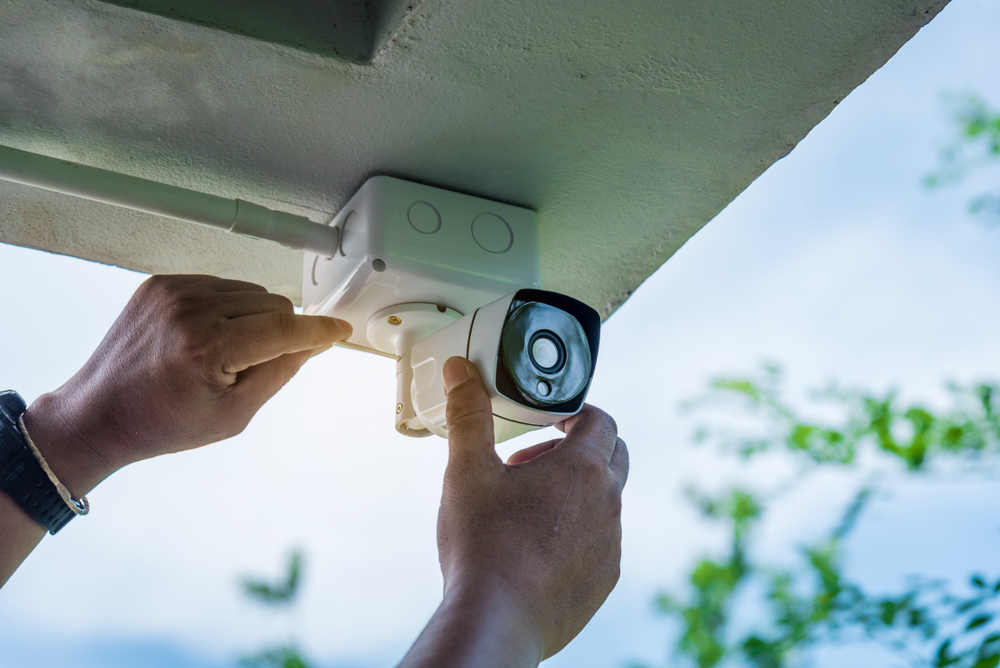
In order to begin your Cox modem setup, you’ll first need to get your Cox self-install kit. You can either choose to have the kit mailed to you, or you can pick it up at a Cox store near you.
Once you have your self-install kit in hand, you can follow these steps to complete your Cox internet installation.
1. Check the box’s contents
First, make sure your self-install kit has everything you’ll need, including a coaxial cable, power cord, Ethernet cable, and your gateway device (Arris TG1682, Technicolor CGM4141, or a Technicolor CGM4331 model). If any of these items are missing, you’ll need to call Cox directly at 1-800-234-3993 to get a replacement.
2. Identify your modem
In order to register your modem with Cox, you’ll need to identify the following:
- Manufacturer
- Model number
- Serial number
- MAC address
You should be able to find a label with this information on the back or bottom of your modem.
3. Download the app (optional)
The Cox App can be another source of information to help walk you through the Easy Connect process. Once you’ve logged in to your Cox account with your user name and password, click the Home page and then the “Start Easy Connect” option. Once you begin, the process should take 10 to 30 minutes from start to finish. The app also includes access to Oliver, a virtual assistant, to help with any questions you may have along the way.
If apps and virtual assistants aren’t your thing, you can skip them and follow these directions instead.
4. Determine the best place for your modem
As you consider your Cox Wi-Fi setup, the placement of your modem is important. That’s because normal household materials like metal, wood, and glass, and large appliances like the microwave and TVs can interfere with your Wi-Fi connectivity.
You’ll want to place your modem at least 3 feet off the ground and close to the ceiling of the first floor if you live in a two-story home. You’ll also want to make sure you place the modem as central as possible to all the rooms in your house. Placing your modem in the right location from the start may potentially alleviate connectivity headaches in the future.
5. Get plugged in
Connect the coaxial cable to the wall and then to the modem. Next, plug the power cord into the wall and then into the modem.
6. Wait for the lights
Once you’ve powered the modem on, keep an eye on both the internet and Wi-Fi lights. Wait for them to turn solid colors, which can take about 10 minutes. Your modem may restart several times during this process.
7. Connect to the network
Next, open the Wi-Fi settings on your smartphone, tablet, or computer. Enter your network name (SSID) and password, which you’ll find on the label at the bottom of your gateway. Then, open a browser window and try surfing the web to make sure you’re all set. If you’re having trouble getting connected right away, wait a few minutes and try again.
Activating a Cox internet account
Once you have your modem installed, your next step will be to activate your Cox internet account.
- Open a browser window and go to https://www.cox.com/myprofile/registration.html.
- Choose if you want to register with your phone number, email address, or account number.
- On the next page, enter your applicable info (phone number, email address, or account number) and click “Look up account.”
- Verify that your contact information is correct (and update if necessary).
- Review the Cox Communication Acceptable Use Policy and then check “I accept.”
- Click “activate” and then wait as the activation processes, which can take up to 30 minutes. Be sure not to close the browser window or open any other tabs until the activation process finishes.
Configuring a Cox modem
Once you have set up your modem and activated your account with Cox, you’ll be able to access the “My Wi-Fi” portal in order to manage your Wi-Fi network settings. In order to make any updates, you need to be the primary account holder.
If you have one of the following modem models, you will be able to log in through cox.com/mywifi:
- Arris DG2460
- Arris TG2472
- Arris TG1682
- Cisco DPC3825
- Cisco DPQ3925
- Ubee DDW365
- Ubee DDW366
- Ubee DVW326
If you have any of the following modems, you will be redirected to wifi.cox.com for Panoramic Wi-Fi:
- Arris TG1682*
- Technicolor CGM4141
- Technicolor CGM4331
*Some Arris TG1682 models are not compatible with the Panoramic Wi-Fi web portal and therefore you will be re-directed to the applicable portal to manage your network.
Once you are logged in, select “My Account” > Internet > Manage Wi-Fi. From there, you will be able to manage a number of different features, including:
Viewing and changing your Wi-Fi frequency band
This option is not available for Panoramic Wi-Fi gateways, but some modems with this feature may allow you to toggle between 2.4GHz and 5GHz (which can sometimes help improve internet speeds).
Change wireless security settings
Although Cox modems come pre-configured to what they believe are the optimal security settings, you have the ability to make adjustments if needed.
View and change the wireless SSID and password
With this option, you can view and change both your SSID and password. If you do decide to change these settings, be aware that you’ll have to reconnect all of your devices once you make an update. Choose a secure password so that other people can’t hack into your wireless and freeload your data.
Broadcast or hide your in-home network
You can choose to have your network be discoverable, or for extra security, you can choose to hide it from people outside of your home.
Set band channel
Did you know that certain wireless channels can get crowded by multiple Wi-Fi networks and impact the speed of your internet? Although your Cox modem is set up to automatically choose the best channel for your home’s Wi-Fi, you also have the ability the choose the channel for yourself.
View Wi-Fi signal strength and connected devices
Are you dealing with dead zones or slow connectivity with certain devices or in different areas of your home? This feature will allow you to troubleshoot the signal strength for devices within your network.
Send reboot signal to modem
If your modem seems to be sending out sluggish speeds or acting finicky, this feature will allow you to reboot from anywhere within your network.
Troubleshooting
During the self-installation process, there are a few common issues or questions that may arise.
Which coaxial outlet should I use?
Choose the coax outlet that allows you to place your modem as central as possible to all the areas of the home that will be accessing your internet wirelessly, while staying as far away as possible from kitchen appliances and large devices such as televisions that may interfere with your Wi-Fi signal.
What do I do with the Ethernet cable?
Though you can connect to the modem wirelessly, the Ethernet cable is useful for connecting a laptop directly to the modem when you need to download very large files as quickly as possible.
Why won’t my device connect wirelessly to my modem?
If your modem is powered on and both the internet and Wi-Fi lights are solid colors, the connectivity issue is more likely with the device you’re trying to connect rather than the modem. Make sure you’re connecting to the right network and have the correct password. If the problem persists, try logging into your “My Wi-Fi” portal and looking at your network connections to make sure you’re not maxed out. If you are, you may want to consider upgrading your internet plan.
Should you self-install or leave it to the pros?
Although Cox encourages new users to self-install through the Easy Connect process, you may also choose to have professional installation (for an additional cost). So which option is best for you?
Pros of self-installation
- Speed: Once you have your self-install kit, you can have your modem installed in as little as 10 to 30 minutes.
- Convenience: Instead of having to schedule an appointment and take time out of your day to wait for a tech to come to your home, if you choose self-installation you can install your new modem when it is most convenient for you.
Cons of self-installation
- No on-site help: If something goes wrong or you have questions during self-installation, you’ll be on your own to figure it out.
- Some tech understanding required: In order to set up your modem and get the settings correct, you’ll need at least a little bit of technical knowledge.
Pros of professional installation
- On-site troubleshooting: With a technician on-site during the installation process, you’ll have someone to instantly help you troubleshoot any issues that arise.
- Peace of mind: With professional installation, you’ll have peace of mind in knowing that everything was set up professionally, which might be especially welcome for homes with more complicated networks to set up.
Cons of professional installation
- Cost: If you choose professional installation, there will be an extra cost (which varies by market and type of installation).
- Time: You’ll need to schedule a time for a technician to come to your house and make sure you’re home during the installation window.
Choosing the right Cox modem
In order to take advantage of the Cox “My Wi-Fi” portal to manage your network, you’ll need to use the modem provided by Cox. However, if you would rather provide your own modem there are a few things you should know, including:
- Speeds will not be guaranteed with a 3rd party modem
- Used 3rd party modems will likely not be allowed for use with Cox services
- You will not have access to technical assistance if you use a 3rd party modem
In order to be compatible with the Cox network, the 3rd party modem you choose needs to be a DOCSIS 3.1 cable modem with integrated Wi-Fi capabilities, also known as a gateway, that is capable of broadcasting dual-band 802.11-AC Wi-Fi or higher.
A few Cox internet compatible 3rd party modem options include:
- ARRIS – SURFboard DOCSIS 3.1 Cable Modem & Dual-Band Wi-Fi Router
- NETGEAR – C6300-100NAS DOCSIS 3.0 Cable Modem
- MG8702 DOCSIS 3.1 Cable Modem + AC3200 Dual Band WiFi Gigabit Router
Final Thoughts
Choosing to manage your Cox internet installation yourself doesn’t have to be difficult. Simply follow the steps provided in the guide in you’ll be connected and on your way in no time at all!

*Pricing varies by location and availability. Speeds may vary. All prices subject to change; for current pricing and availability visit our internet service page. Prices as of 3/23/22.
Disclosure | Updater articles are based on our own data and research, independent from partner relationships. We are not compensated by partners for information and opinions presented here. Our Editorial Terms of Service can be found here.
Internet and TV tips
Switching providers and don’t know where to start? We can help.